I offered to bring a cake for a birthday dinner celebration consisting of 5 people. A 6 to 8 inch round cake would have been ideal. Unfortunately it was a pretty last minute plan and I was searching for a small cake pan at the shops nearby.
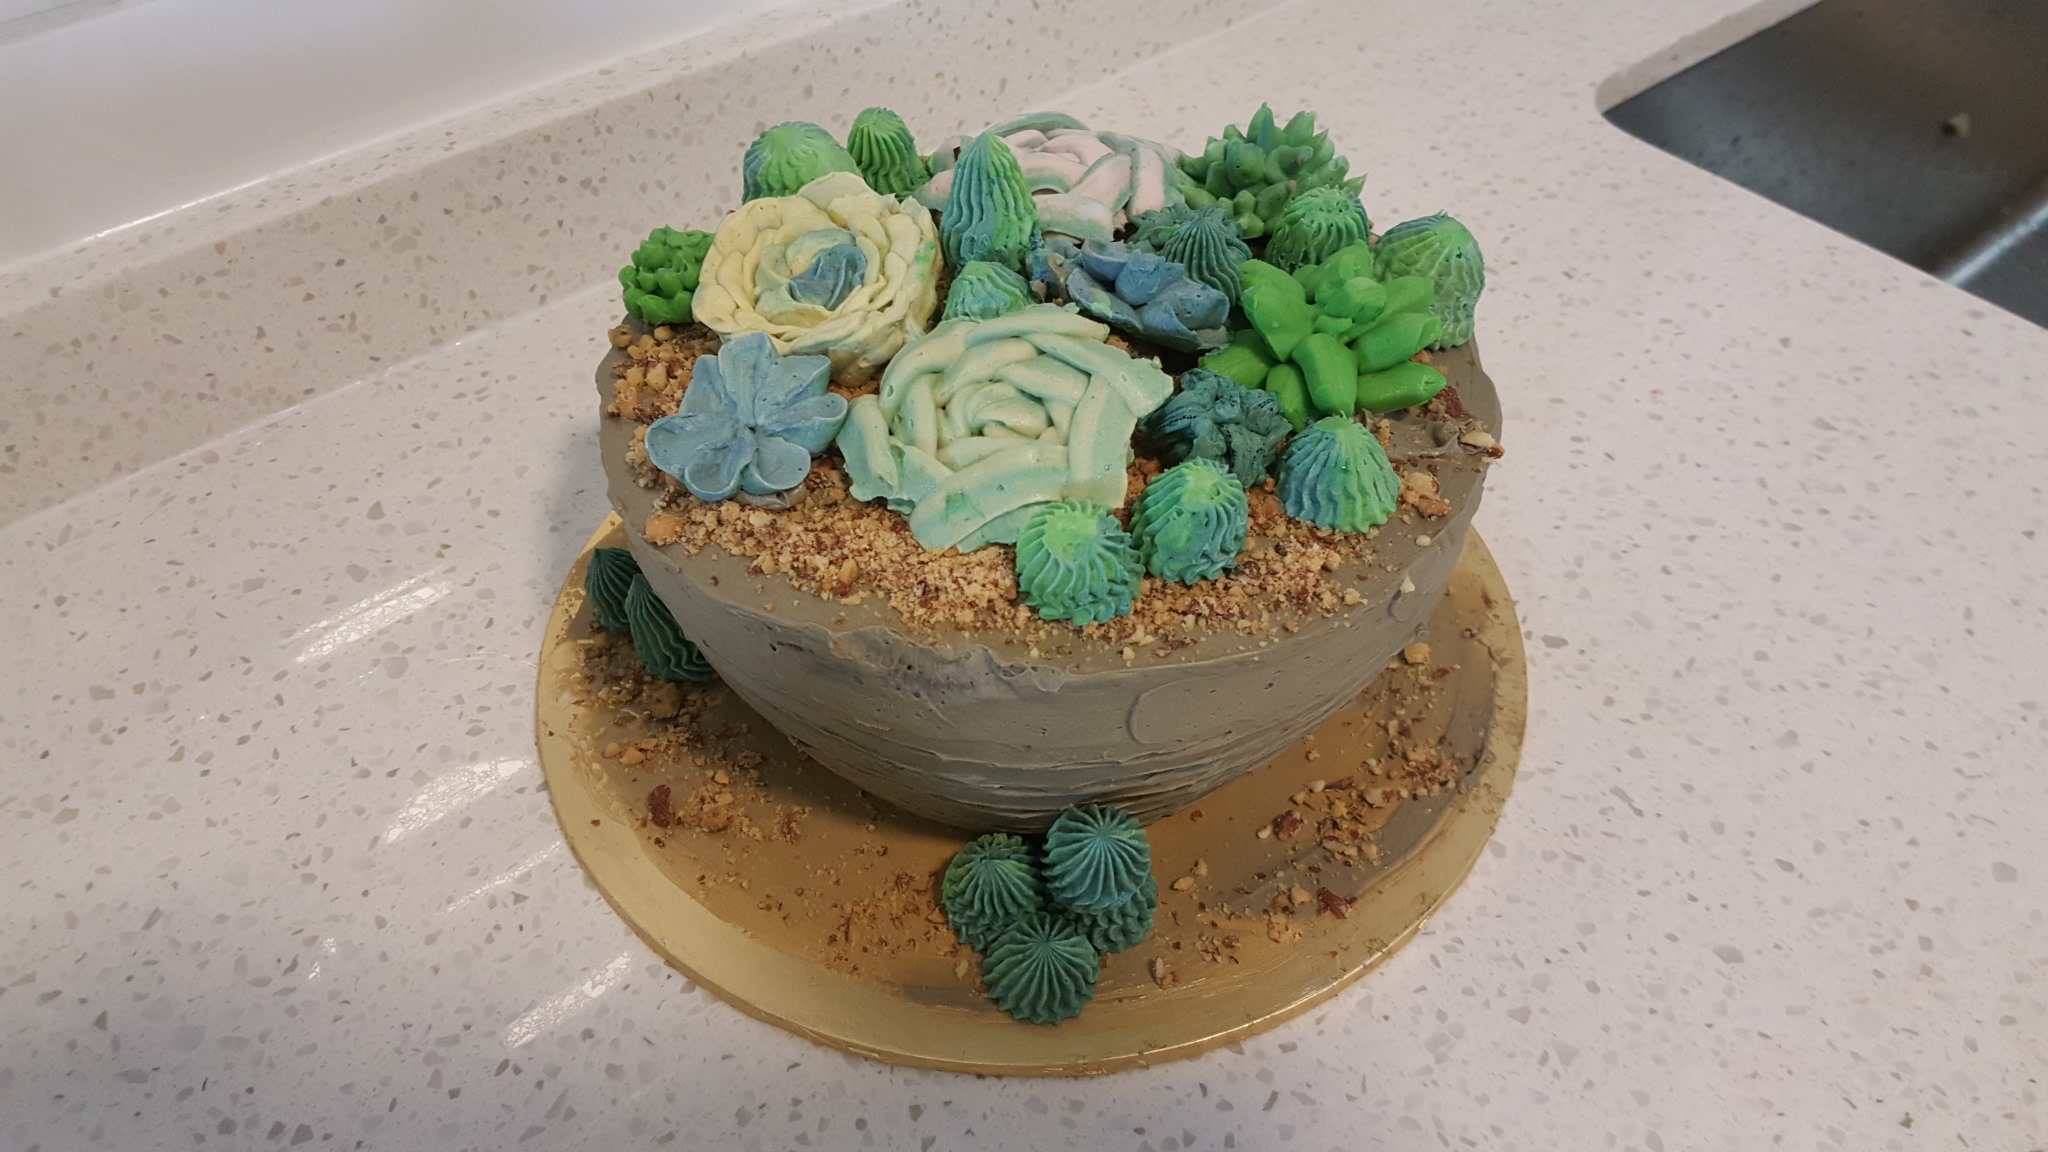
I was also scratching my head with the design of the cake. And eventually came up with: Succulents… Hopefully the piped succulent could hide some minor mistakes since it is my first time piping a proper cake.
Choosing a Cake Pan
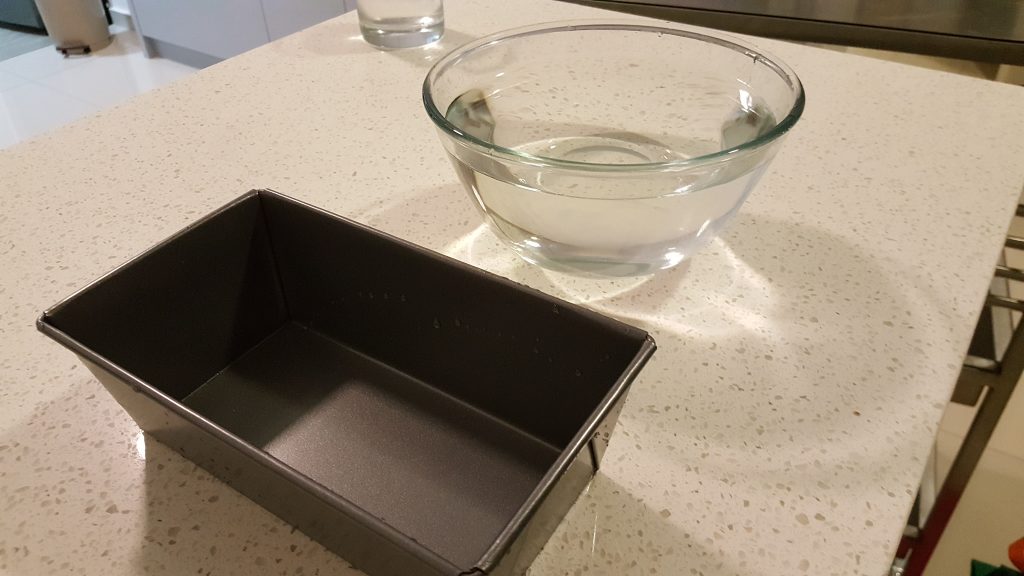
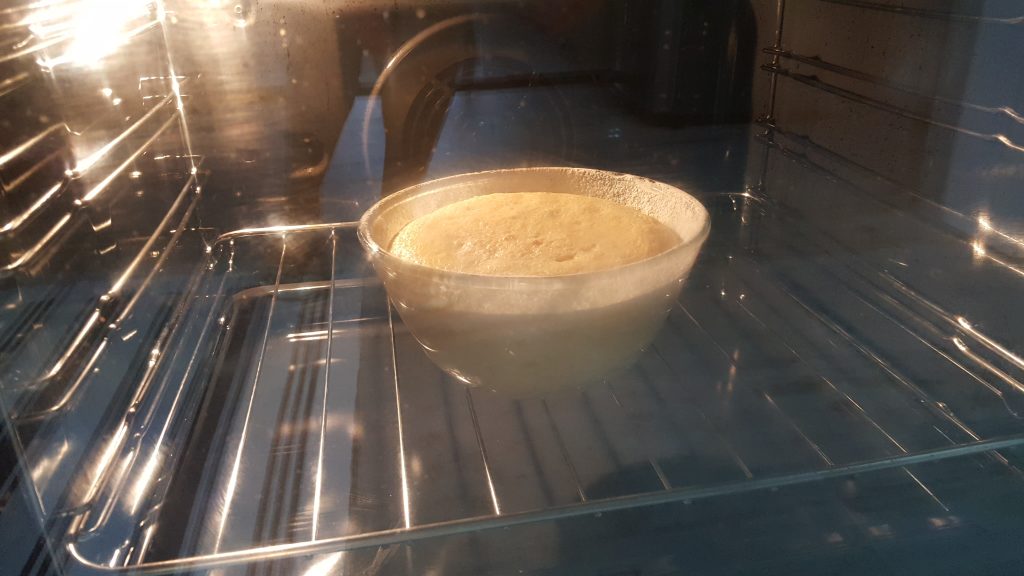
Let’s see. Succulent in a pot? That will be a bowl shape. Hmm… Why don’t I bake my cake in my pyrex bowl? I checked the bowl size and it could fit the same amount of water as the small loaf pan which was ideal. One less item to buy, own and then store…
Baking with a pyrex
Baking with a pyrex bowl is slightly different compared to baking with a circle or square pan. Pyrex material retains more heat so after being removed out of the oven, it might continue ‘baking’ the cake. It is also a bowl shape so the middle will take longer to cook than the edges.
- Reduce temperature by 10C and extend baking time by 10 mins
- Underbake the cake or remove the cake from the pyrex when it is out of the oven
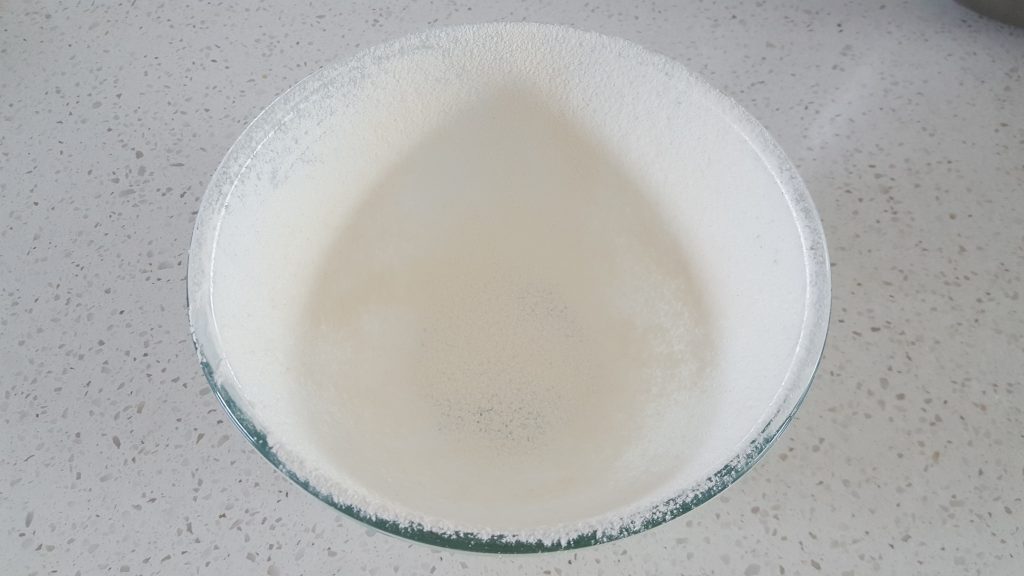
- Oil the pyrex well or butter + flour it
Baking a Jackfruit Cake
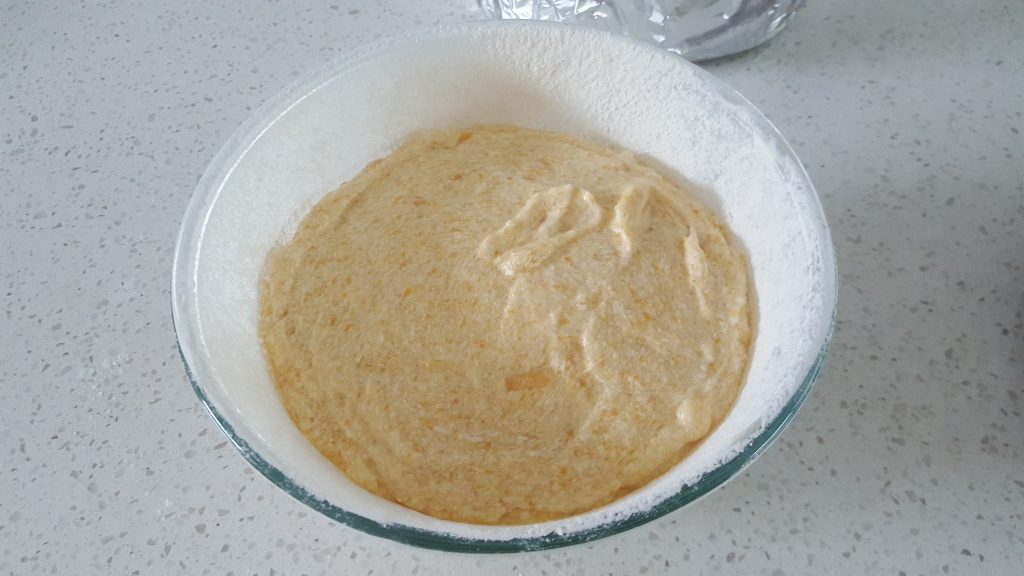
We decided to bake a jackfruit cake and I last baked it a week ago in a loaf pan. I just need to follow the exact recipe. I bought 2 packs of the jackfruit below which weighed about 450g; used for jackfruit puree for cake, jackfruit puree for icing and jackfruit bits.
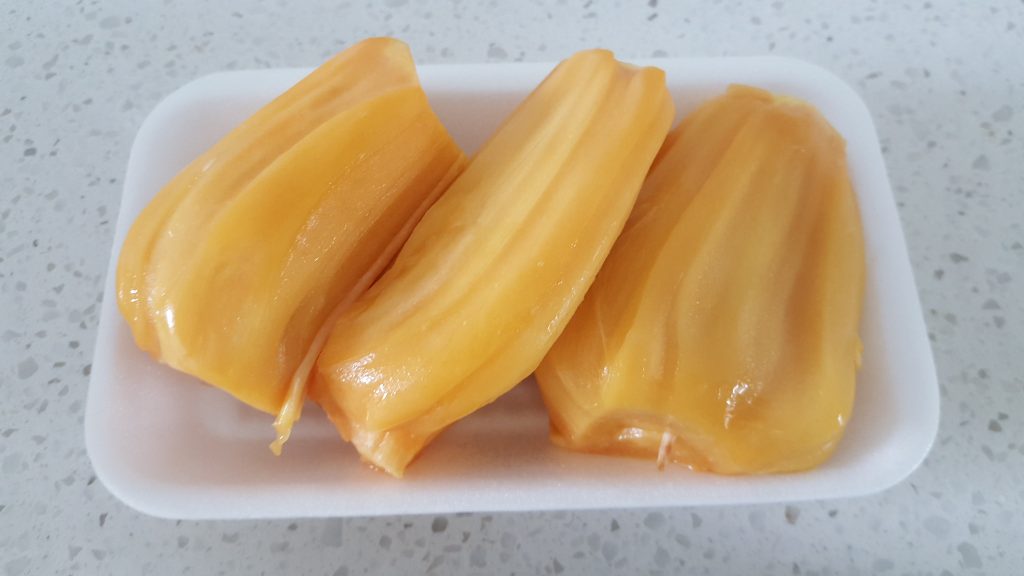
Since I was icing the cake with buttercream, I decided to reduce the sugar to 125g of sugar. This batch of jackfruit was not as sweet but still flavourful compared to the last batch.
The oven setting was 160C convection instead of 170 and took 50 minutes. I covered pyrex bowl with foil for the last 20 minutes.
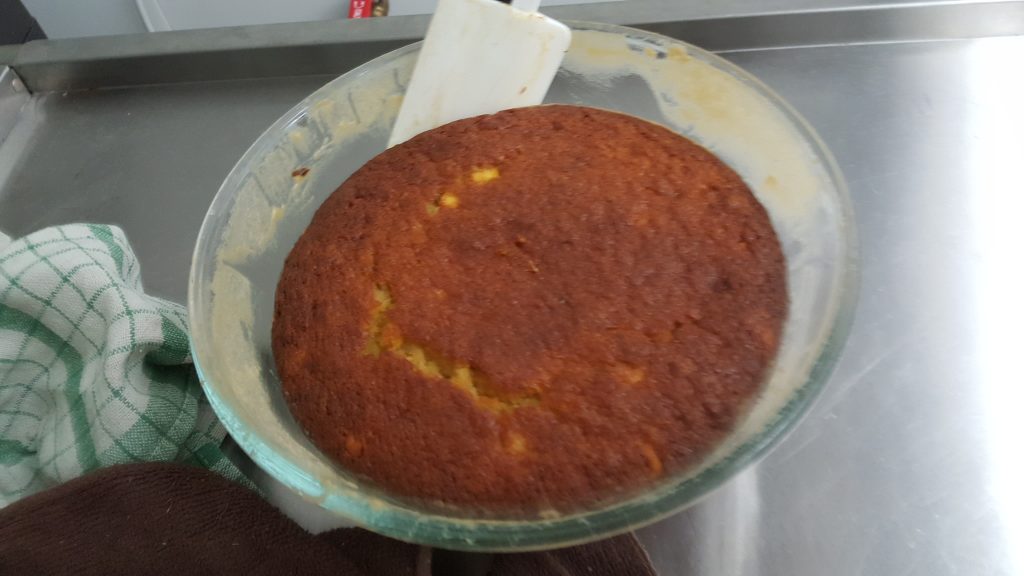
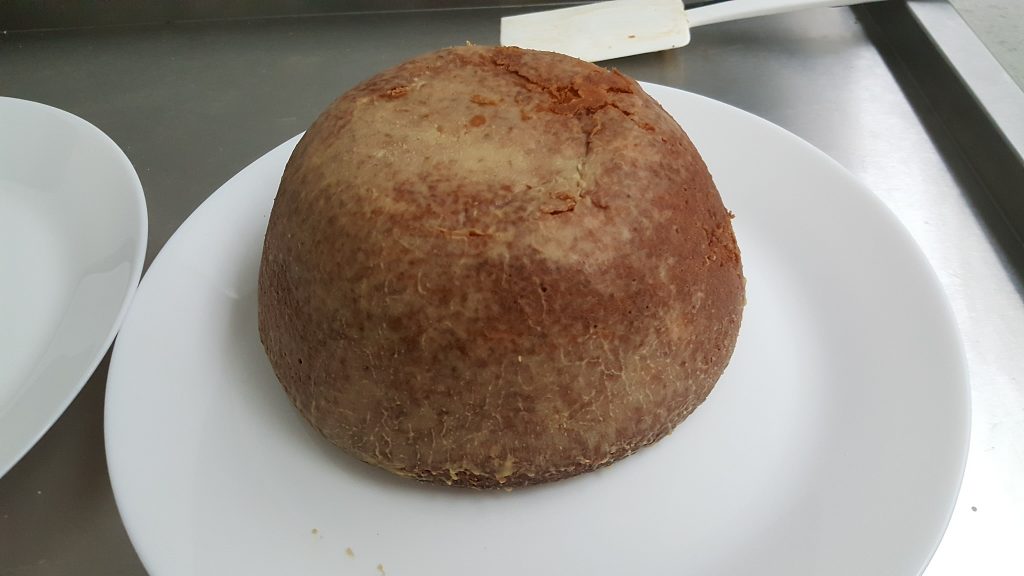
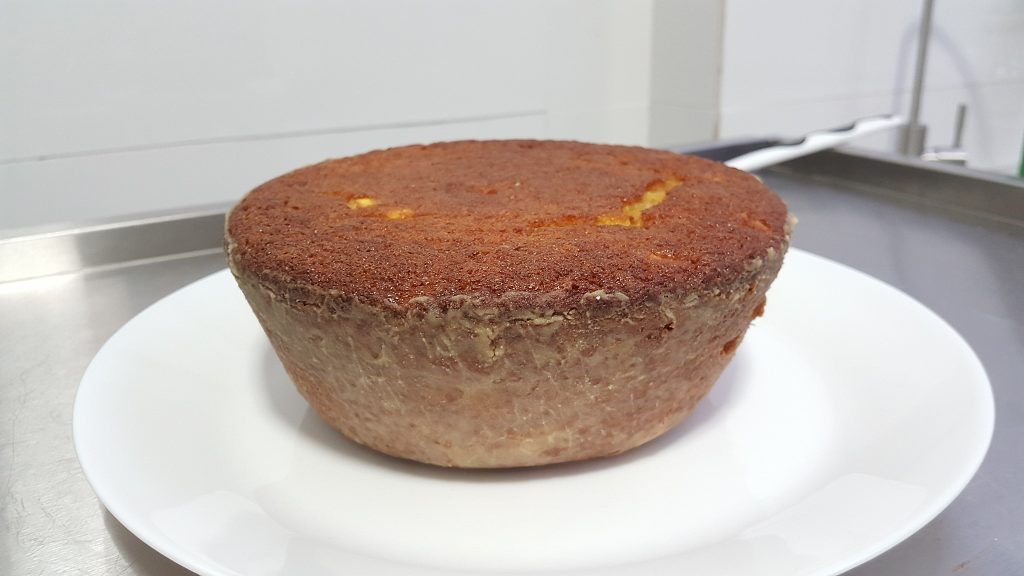
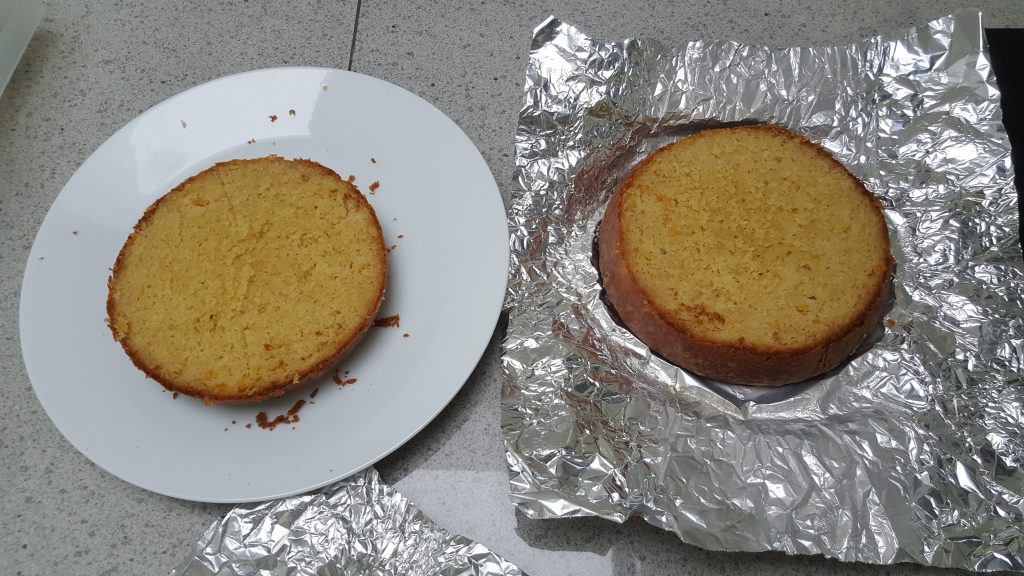
After the cake was out from the oven, I waited for a few minutes and then tried removing it by using a spatula to sweep the sides. Pyrex retains heat so leaving the cake to cool inside the pyrex might overbake it.
Cutting the Cake into Layers
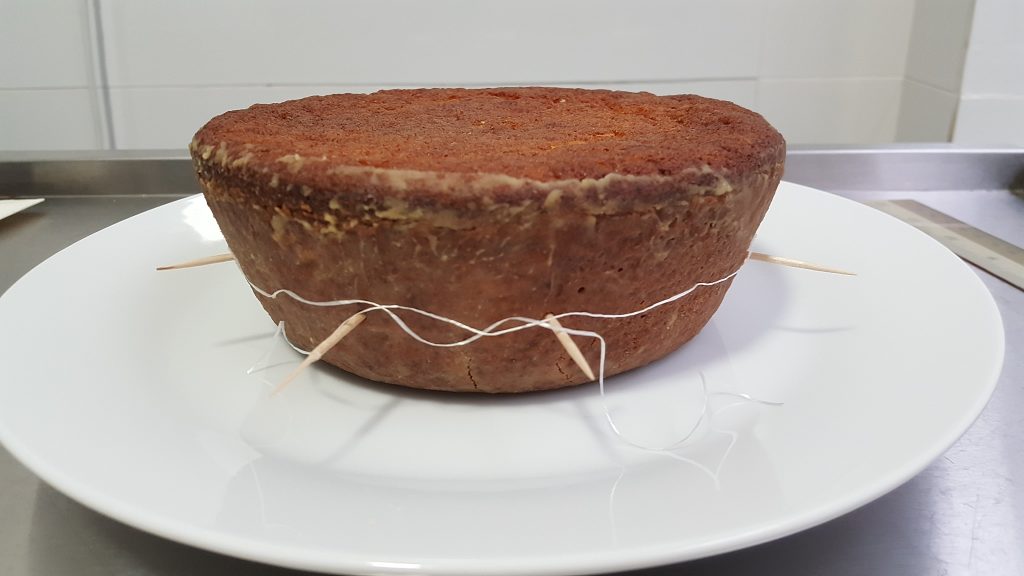
The video here taught me how to cut the cake into 2 layers with just toothpick and dental floss. I don’t have a long paring knife or a metal cake cutter so that option worked really well. I also used a stationary ruler to measure the height and divide it into 2.
Stick 8 toothpicks around the cake and put the dental floss around the cake above the toothpicks. Pull it in opposite direction.
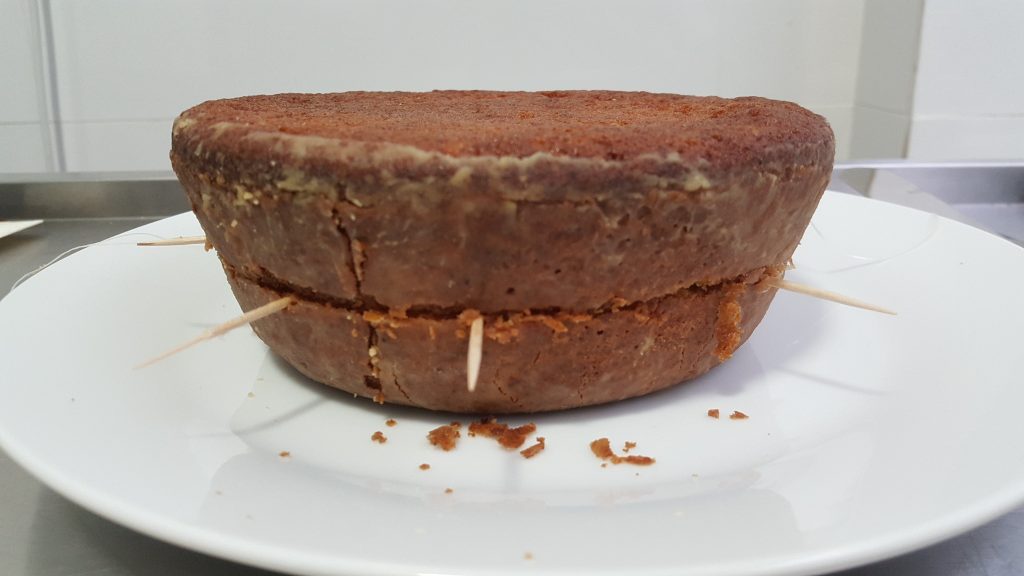
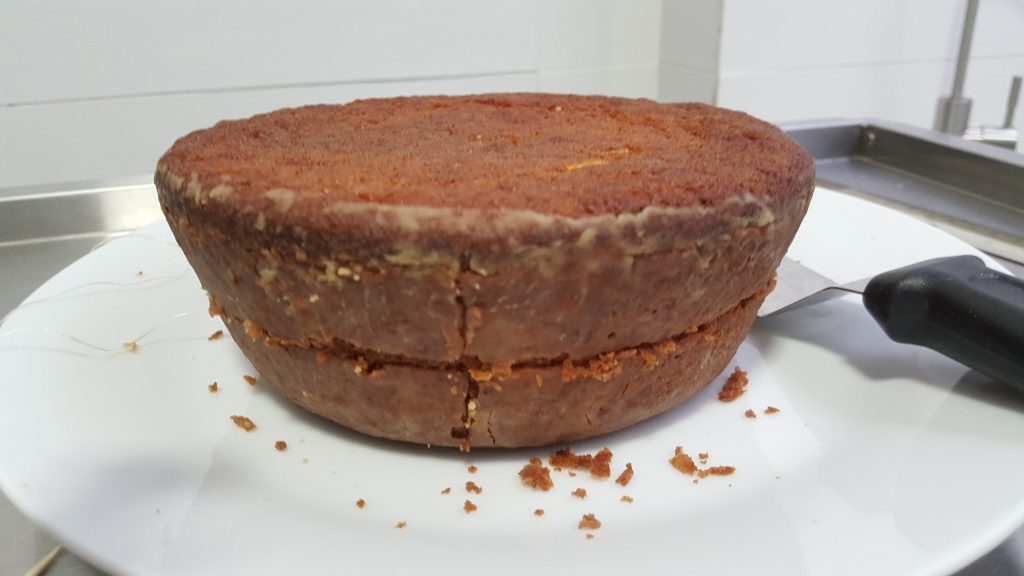
If you are wondering about the vertical marking, it it to mark it so I would know which position to stack it on top of each other before I ice the cake. I used a long palette knife and a foil to split it into 2.
Freezing the Cake
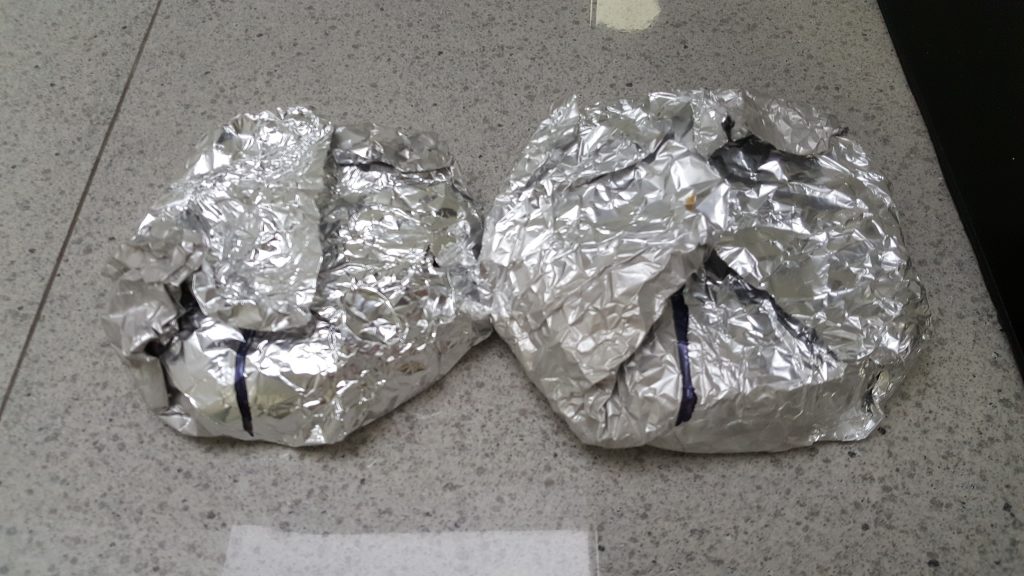
I was only planning serve the cake in 6 days time so I stored it in the freezer. I marked the part where I had put the horizontal marking so I would know the exact position to stack it.
Type of Buttercream
There are many types of buttercream choices:
- American Buttercream: Just cream icing sugar and butter.
- Swiss Buttercream: Whip meringue over low heat then add in butter.
- Italian Buttercream: Add hot sugar syrup (soft ball stage) into meringue. Then add in butter. Not as sweet as italian buttercream but sweeter than American buttercream.
- French buttercream: Similar to Italian buttercream but uses egg yolks instead of egg white.
- German Buttercream: Make a custard from egg yolk, milk, sugar flour and cornstarch. Beat custard, powdered sugar and butter.
- Flour Buttercream: Make a pudding base from milk, sugar and flour. Beat pudding base, powdered sugar and butter.
- Korean GG Buttercream: Similar to the Italian method but butter is added in cold. It gives a smoother, glossy and slightly transparent effect.
Same Old American Buttercream?
For the past 2 years, American buttercream has been my go to as it is the most straightforward. It is stiff and suitable to pipe flowers and Russian tip flowers.
The problem is that it is too sweet. But I have not ‘ventured’ into the others. My other options would be Italian Meringue buttercream or Swiss Meringue buttercream. Swiss meringue is the least sweet among all but is not as stable (in heat) compared to Italian.
Italian Meringue Buttercream
This was the first time making Italian Meringue Buttercream. I enlisted the help of Piglet as I did not have a stand mixer. John from Preppy Kitchen has a great video and lots of explanation here. I adjusted the quantity to 85% so that I would have enough for the cake and a batch of macarons.
Piglet watched it and off we went to make the meringue first by adding cream of tartar to egg white and then sugar when it was at soft peak.
While Piglet was whipping up the meringue, I made the sugar syrup using a portable induction cooker. I did not have a candy thermometer so I used a cup of ice water to check for soft ball stage.
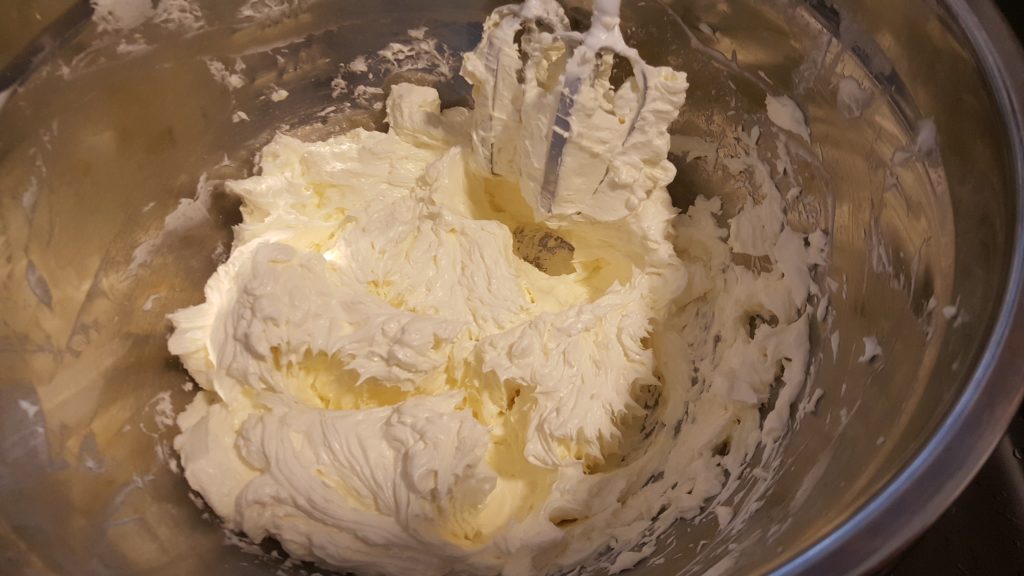
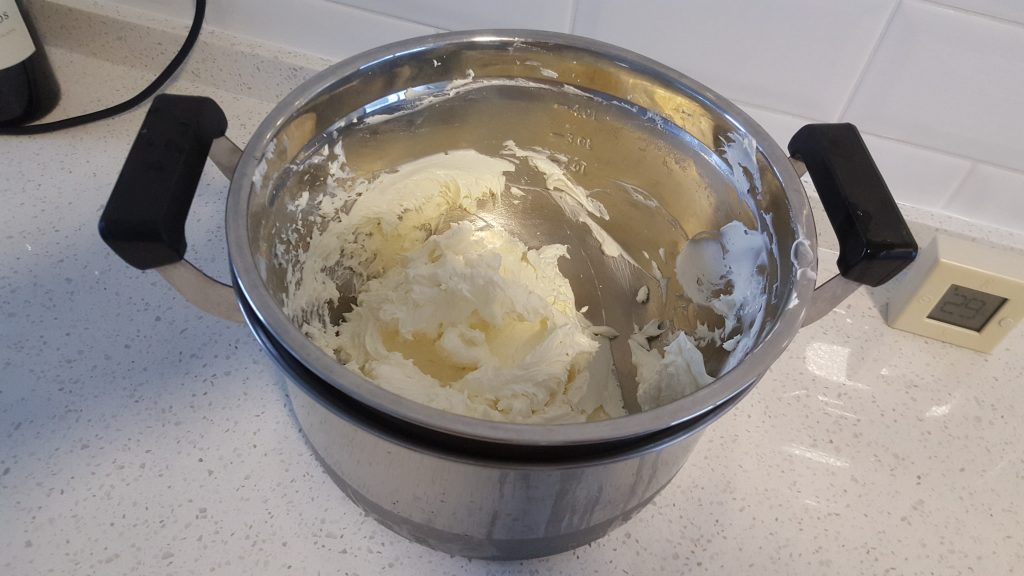
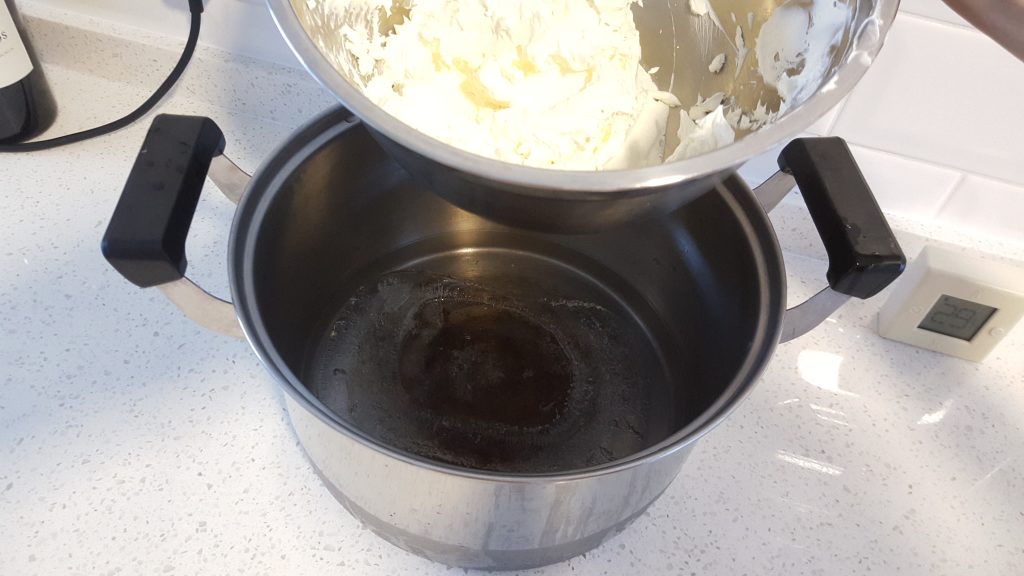
I then poured the sugar syrup in slowly and carefully. After about 5 minutes, we put the mixing bowl into an ice bath. It cooled down so fast, temperature of the meringue was lower than room temperature (29C) within minutes. I added small blocks of butter slowly. And it started looking promising after adding about 2/3 of butter.
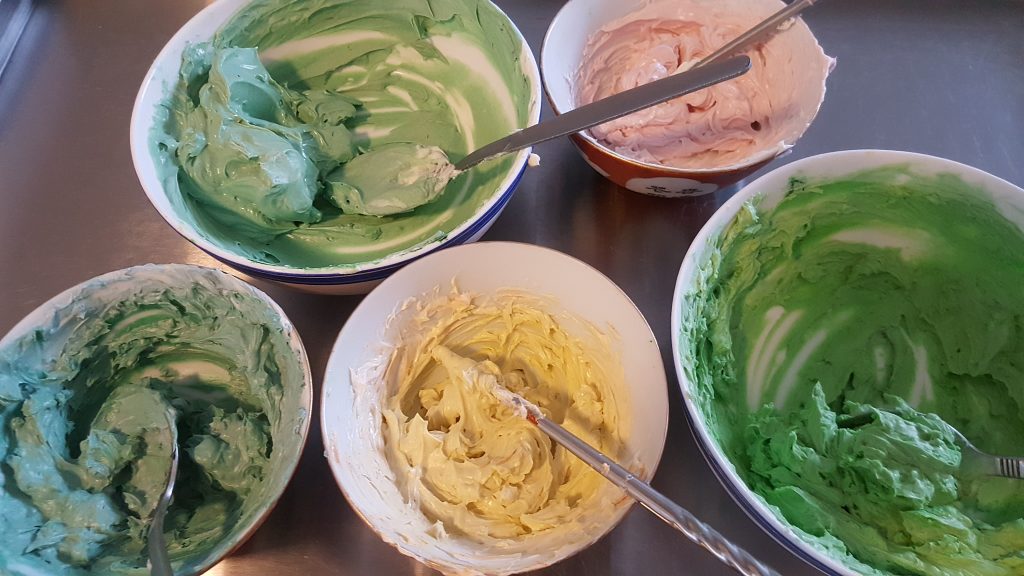
Colouring Buttercream
I used gel food colour to colour the buttercream. I made dark green buttercream from green+ blue and green+ black.
Piping Succulents
I used circle tip, small leaf tip, petal tip and large star tip.
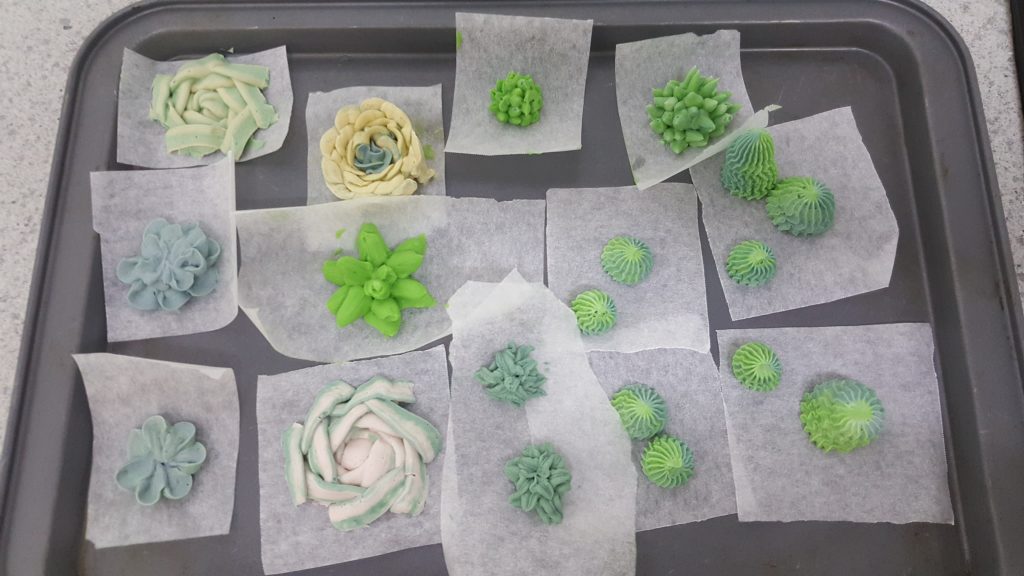
After that, I put the tray in the freezer so that it will harden.
Frosting the Cake
I was planning to thaw the cake a few hours before that and then frost it. And then I found out here that I can actually frost the cake while it thaws. I added red gel colouring to the remaining green buttercream to make it brown.
First part would be to frost the layer.
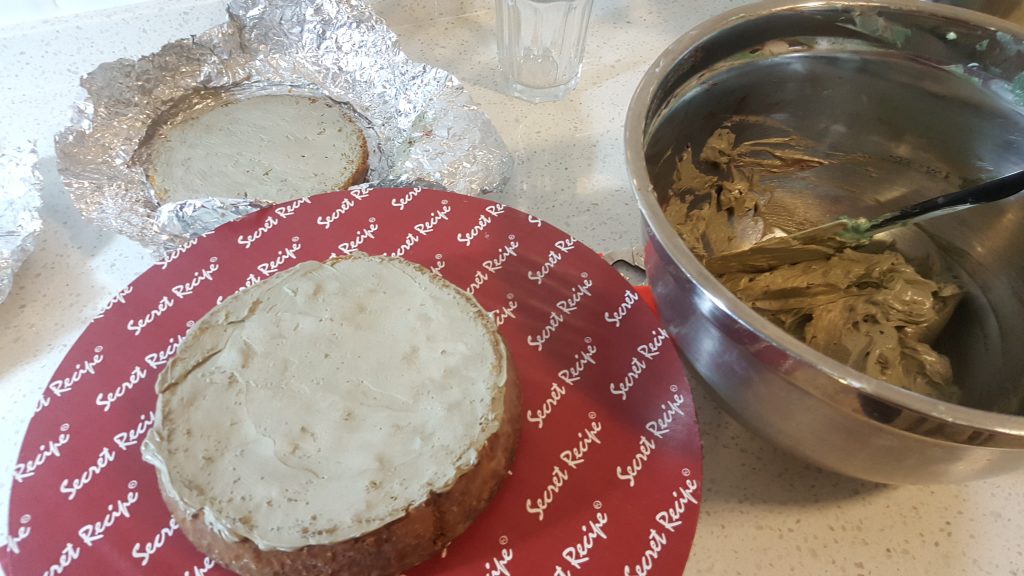
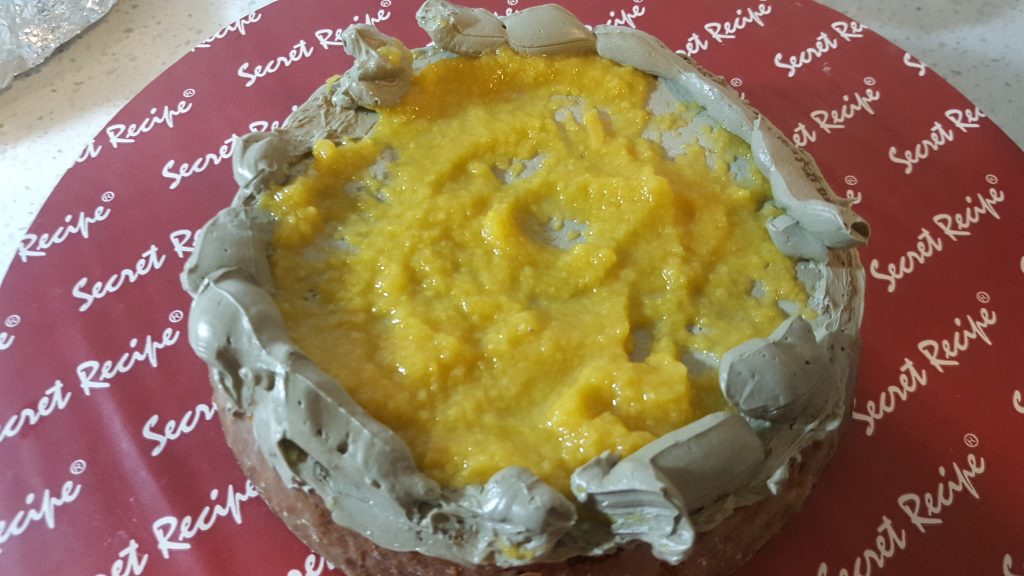
It needs a crumb coat and then harden it a little in the freezer.
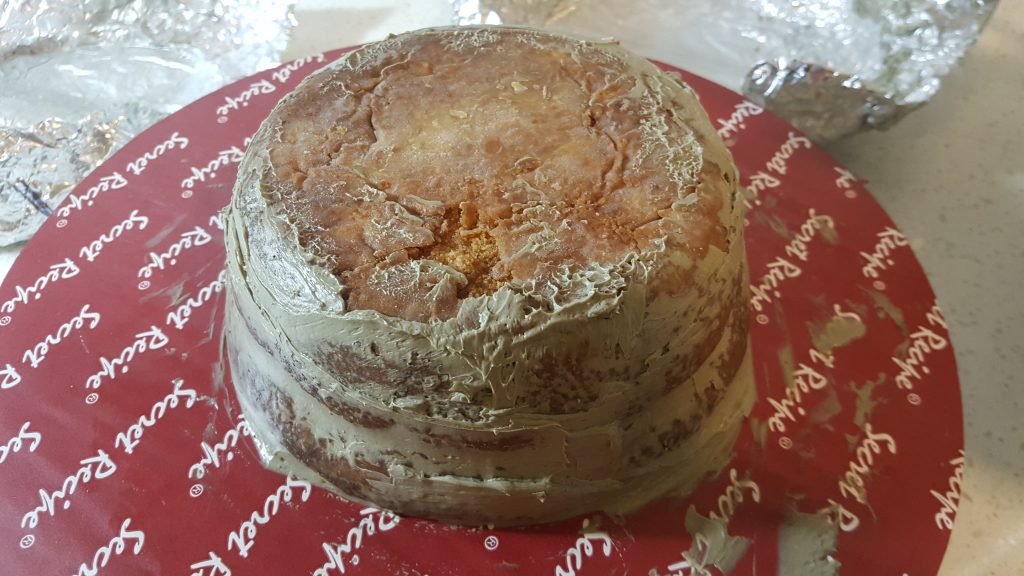
Used a spatula, pallet knife and a scraper to frost the top and sides.
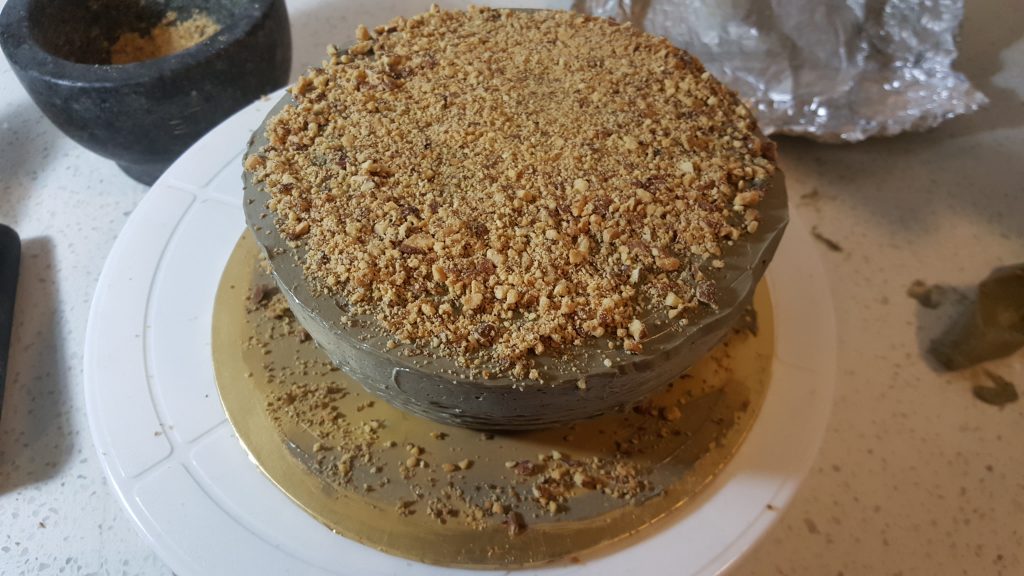
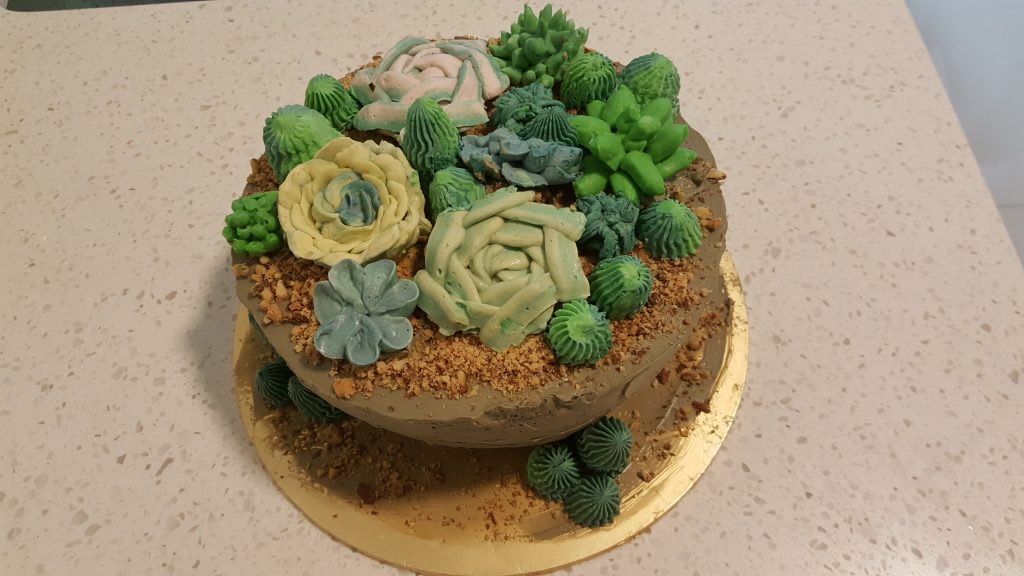
I used some buttercream as ‘glue’ to stick the harden succulents from the freezer onto the cake.